
NewsDetails
Technical guide for installation of spray coated stainless steel mosquito nets
author:Anyaochen time:2025-07-20 20:51:42 Click:185
1、 Preparation before installation
Tools and materials
Tools: tape measure, screwdriver, pliers, zip ties (or one-on-one buckles), pressure wheel (for slot installation), scissors, drill (if drilling is required).
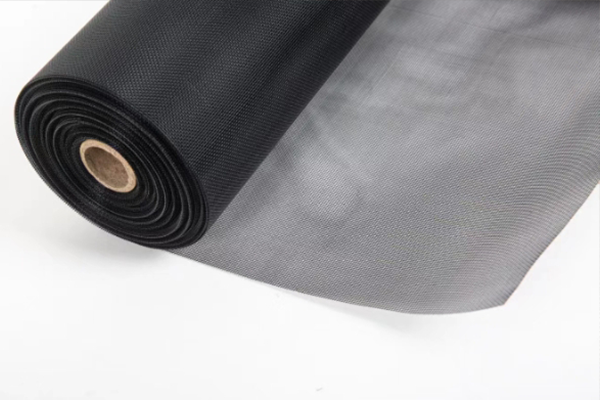
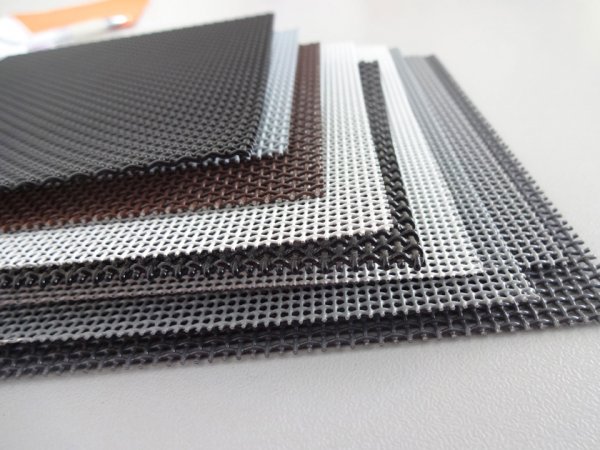
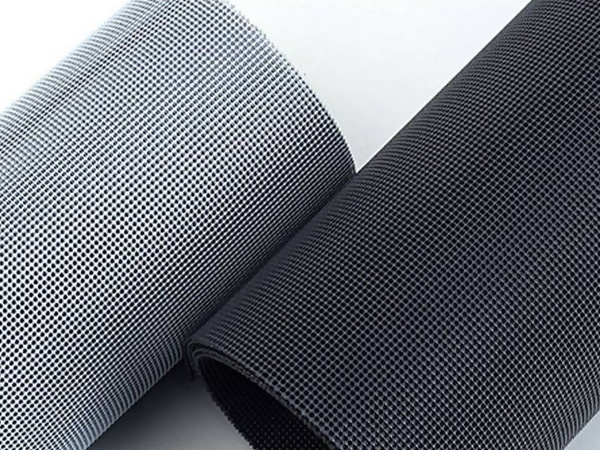
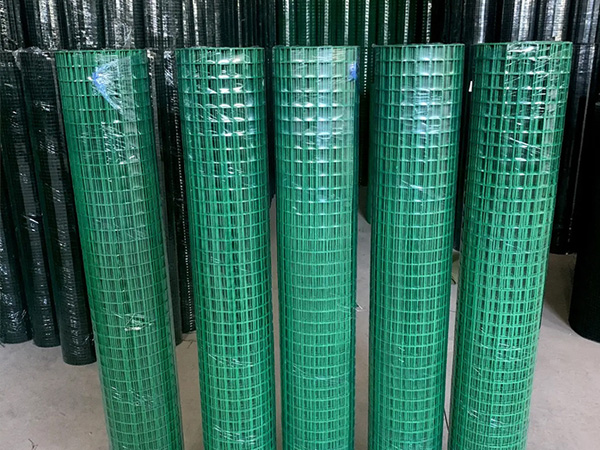
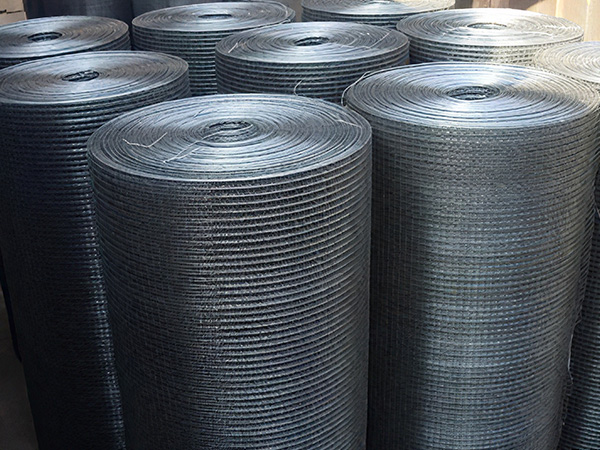
Material: Spray coated stainless steel mosquito net (size and mesh size need to be confirmed in advance), matching fixing parts (such as expansion screws, plastic buckles).
Dimensional measurement and cutting
Accurately measure the length, width, and height of the installation area (such as windows, balconies, or vehicle air intakes).
Cut the mosquito net according to the measurement results and reserve 2-3cm edges for fixing to avoid incomplete coverage due to insufficient size.
Surface cleaning
Remove dust, oil stains, and debris from the installation location (such as foreign objects in the vehicle radiator and window frame gaps), and confirm that the mosquito net is tightly attached to the contact surface.
2、 Installation steps
Frame fixation (if required)
Scenario 1: Window/balcony installation
Use a tape measure to locate the installation point of the window frame or bracket, drill holes with an electric drill, and fix the window frame or bracket with expansion screws to confirm that the frame is stable and not shaking.
Scenario 2: Installation of vehicle air inlet
Remove the interior panel of the car door (during vehicle installation) to expose the fixed position of the window glass, without the need for an additional frame, and directly fix the mosquito net using the original vehicle structure.
Laying and fixing mosquito nets
Method 1: Fixing with zip ties/buckles
Lay the mosquito net flat on the frame or air inlet, use zip ties to pass through the reserved holes on the edge of the net, tighten and fix it on the frame, evenly distributed at intervals of 50-100cm.
If using a plastic buckle, clip one end of the buckle onto the edge of the mesh and press the other end to fix it to the frame, confirming that there is no looseness.
Method 2: Fixing the pressing wheel slot (applicable to screen windows)
Lay the mosquito net flat on the yarn frame, use a pressure roller to press the pressure strip into the slot, first fix the upper and lower or left and right sides, then adjust the tension of the mesh to confirm that it is flat and wrinkle free.
Method 3: One on one installation of vehicle air inlet
Push the mosquito net into one end of the car window slot, adjust the angle to avoid jamming, confirm that it covers the air inlet completely, reinstall the interior panel and tighten the screws.
Edge processing and stitching
Trim excess mesh with scissors to keep the edges neat.
If multiple mosquito nets need to be spliced, align the joints and fix them with metal clips (metal nets) or sew them with needle and thread (plastic nets), and confirm that there are no gaps at the splices.
3、 Key technical points
tension control
Mosquito nets should maintain moderate tension to avoid sagging caused by looseness or deformation caused by tightness.
Vehicle installation: The mosquito net on the car window needs to adapt to the lifting and lowering of the glass, with a reserved 1-2cm expansion space.
Building installation: The mosquito net for the window screen should be tightly attached to the frame to prevent mosquitoes from entering from the edges.
Fixed point distribution
The spacing between fixed points should be adjusted according to the mesh size and wind pressure environment. It is recommended to:
Ordinary windows: one fixed point every 50cm;
High rise balconies or vehicle air intakes: a fixed point every 30-40cm to enhance wind resistance.
Spray coating protection
Avoid scratching the sprayed surface during installation to prevent rusting.
If punching is required, priority should be given to selecting the edge or inconspicuous position of the mesh to reduce the impact on aesthetics.
4、 Installation examples in different scenarios
Installation of vehicle air inlet
Step: Roll down the car window → Remove the interior panel → Push in the mosquito net → Reinstall the interior panel → Test the lifting.
Attention: Be careful with the wiring when disassembling and assembling the interior panel, and do not apply too much force when pushing in the mesh.
Window screen installation
Step: Fix the yarn frame → lay the mesh → press into the slot → trim the edge → test the switch.
Attention: Ensure that the frame is level and avoid tilting the mesh to prevent mosquitoes from entering.
Installation of balcony protective net
Step: Build metal frame → lay mesh → fix with zip ties → splice and fill gaps → check stability.
Attention: The frame needs to withstand the tension of the mosquito net, and it is recommended to use thickened steel pipes or aluminum alloy.
5、 Post installation inspection and maintenance
functional testing
Shake the mosquito net to check if the fixing points are loose, and test if the vehicle's window lift or window switch is smooth.
Gently press the mesh with your hand to confirm that there is no sinking or deformation.
Regular maintenance
Clean the dust on the surface of the mosquito net every quarter, rinse with a soft brush or clean water (avoid direct impact with high-pressure water gun).
Check whether the fixed parts are corroded and replace the aging zip ties or buckles in a timely manner.
When damage is found, repair it with mesh of the same material (metal mesh fixed with wire, plastic mesh glued together).
 Recommended Products

 Contact us
—— Contact:Mr. Hu
—— Tel:+8615832823281
—— Email:tuochenmesh@foxmail.com
—— Url:http://www.anyaochenwiremesh.com
—— Address:No. 9 Lituan Village, Anping Town, Anping County, Hengshui City, Hebei Province